Zbrush succumb witcher 3 concept


Sculptris Model of haunter (high poly)

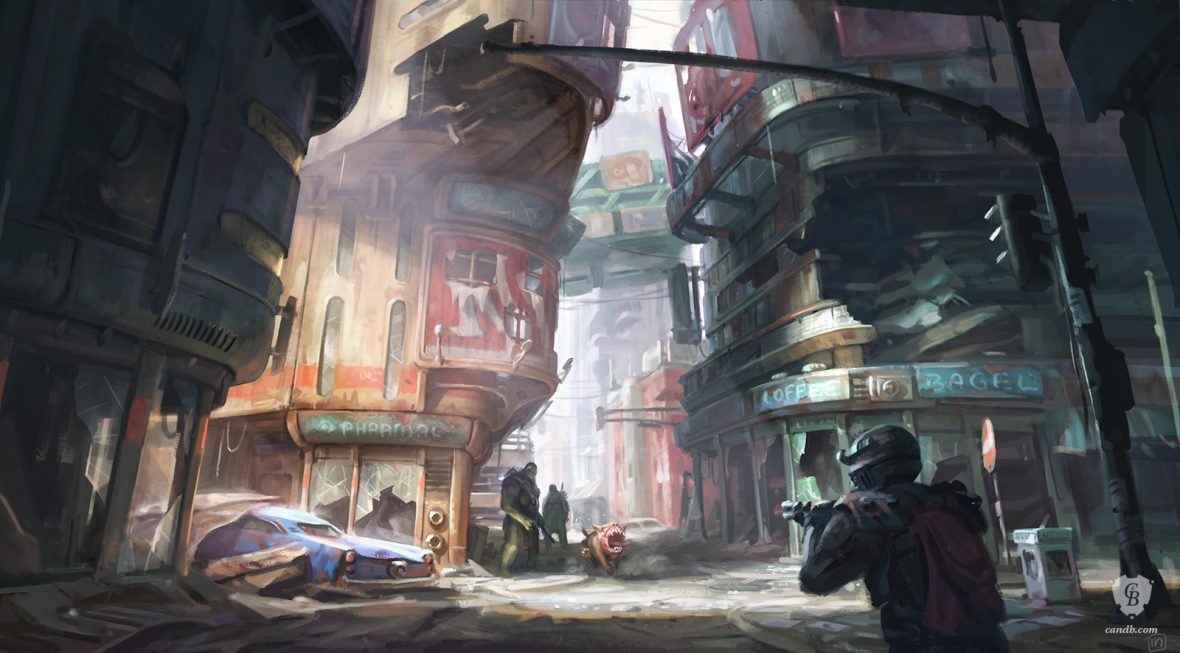
MOBA College Game Project
Moodboard
Before making any models or drawings I created a mood board to understand what I am aiming in terms of look and how they will feel in the game.

Werewolf
To create the werewolf I had to find references to human and wolf anatomy to create the half man half animal creature. For this model, I looked at the different muscles in detail to get the most realistic looking human body.


Head
The head was made in Sculptris using brushes like the grab to pull out the ears and fur at the sides and also for the eyebrows. Any fine details were created with brushes like smooth crease and inflate.


Body
After the head was made I set on making the body of the werewolf, to do this I used the grab brush and started to give it some thickens and detail to the body.

Lava Dragon
To start off I drew a few different dragons and chose the one which would work in the game and wouldn’t have a high topology.

Head
To create this model I have used Sculptris to get a nicely formed really detailed dragon head that could then be exported as an OBJ file and imported into Mudbox to lower poly count.
Before


After


Wings
I decided to make the wings separate and retopolagise the in mud box just like the head and in the end, attach them to the body and head.


When the body, head and the wings were stitched up the overall mesh had about 2000 polygons overall.
Texturing and UV Mapping
I decided to use fire texture for one dragon and water textures for the other.


Animation


When rigging the dragon I encountered some problems where the transformers would separate from the rig when keyed. I also had problems with IKhandles where the constraints added didn’t work at all at times.

Stone Golem
After creating the mood board for the golem I drew few heads and slowest to understand the stone structure and how the overall product might look like I have also considered different textures that the golem could have like gems and ice.
Head
To create the head of the golem I started making a base shape in Maya and the transferred it to Mudbox to give it more details when subdividing. To lower the poly count I retopologised the mesh to keep the details on the stone monsters face I used curves to outline which bits I would like to trans-fare to the low poly version.
Before

After

Final Look
When all the assets where created I then proceeded to stitch them together into one final piece. The overall model ended up with 2600 polygons as a whole, further details I decided to add a normal map made in Photoshop or MudBox.

Texturing and UV


Animation
Before I animated the character I looked at the walk cycle I also had to paint in the skin weights.

Textures
As this is a rock Golem I looked at different types of rock and stone structures and textures to see what would work the best.


Skyrim Daedric Sword (low poly for game)


Wooden Create
To create this I started with a basic cube and reinforced all of the edges by beveling them I have also put extra lines in the middle of the box to keep its shape.

I found a wooden create sprite on google and duplicated the image in Photoshop to fit all the squares in the UV for a normal texture. I then created a normal map to give the box a natural wooden look to it.


Overall look

Alien Head
For this, I had to transfer all the detail from the high res model on to the low res using a normal map made I Maya.


Alien Body

